Installing the ECAD-MCAD Project Collaboration Server
Contents
Parent article: MCAD Co-Designer - SolidWorks®
In order to use Altium Designer, in collaboration with SOLIDWORKS®, you must also have an appropriately licensed installation of the ECAD-MCAD Project Collaboration Server, or an existing Altium Vault.
The Collaboration Server is powered by Altium Vault Technology and comes with two license files that essentially tailor its installation for collaboration purposes only. This licensing allows only those features and functionality required to collaborate between Altium Designer and SOLIDWORKS. If you already have an Altium Vault, you can simply use this instead. The key point to make here is that you are not required to purchase a separate install of the Altium Vault.
Installation of the Collaboration Server is both intuitive and expedient, courtesy of the Altium Vault Setup wizard.
This article takes a look at the procedure for installing the ECAD-MCAD Project Collaboration Server for the first time on a computer, and getting it licensed for collaboration between Altium Designer and SOLIDWORKS.
Pre-Install Preparation
To access the Altium Vault Setup wizard, you need to first download and run an executable – Altium Vault <VersionNumber>.exe. This executable is downloaded from the Downloads page of the Altium website, and can be saved anywhere on your hard disk.
Running the Setup Wizard
Double-click the Altium Vault <Version Number>.exe file. The Altium Vault Setup wizard will appear.
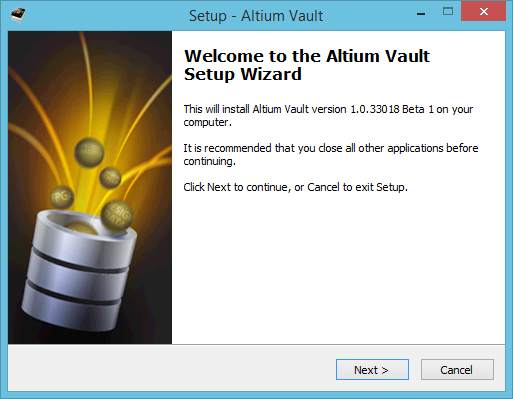
Initial welcome page for the Altium Vault Setup wizard.
The installation wizard provides a set of progressive (and intuitive) pages that collectively gather the information to effectively install the Collaboration Server.
Click Next to continue. The following sections provide a summary of the various pages you will encounter.
License Agreement
This page of the wizard presents you with the Altium End-User License Agreement (EULA).
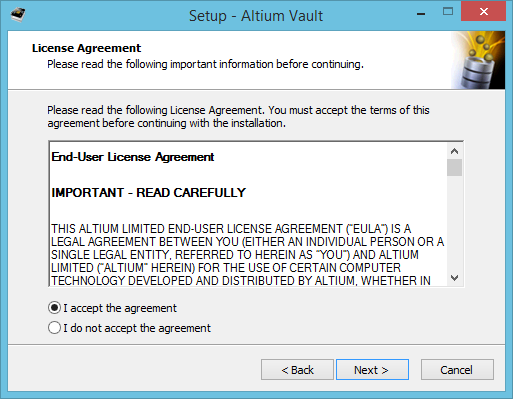
Read and accept Altium's End-User License Agreement.
With the EULA read, continue with the install by checking the I accept the agreement box and clicking the Next button.
Select Destination Location
This next page of the wizard allows you to specify the destination in which to install the Collaboration Server. The default installation path is \Program Files (x86)\Altium\Altium Vault. The server requires at least 429MB of free disk space for installation.
To specify an alternate location, simply type the location directly into the field, or click the Browse button at the right of the field and browse for the required destination folder (or create it on-the-fly).
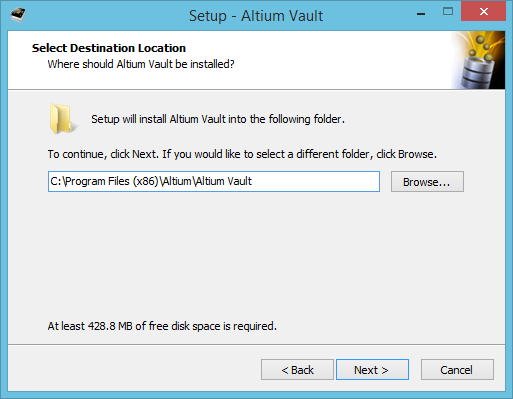
Determine install location for the Collaboration Server.
Once the install location is specified, click Next to continue.
Altium Vault Configuration
Use this next page of the wizard to specify the port number to be used by the Collaboration Server for communications (HTTP). By default, port 9780 is used.
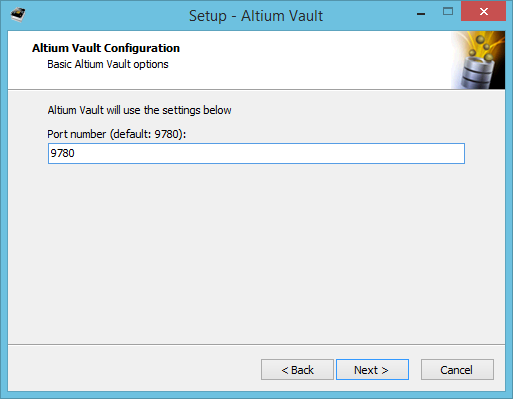
Set the port number for server communications.
Once the port number is specified, click Next to continue.
Select Altium Vault Database
Use this page of the wizard to specify the type of database used for the server. Two database types are available:
- Firebird
- Oracle

Select the type of database for the Collaboration Server's back-end.
Once the type of database is specified, click Next to continue.
Altium Vault Database Configuration
With the default Firebird database, there are no additional options to define. If the Oracle database type is chosen, this page will be presented. Use it to specify the following information:
- Server Address - the location of the database, in the format Host:Port.
- Username - username portion of your database login credentials.
- Password - password portion of your database login credentials.
- Database Name - the database file (including path).
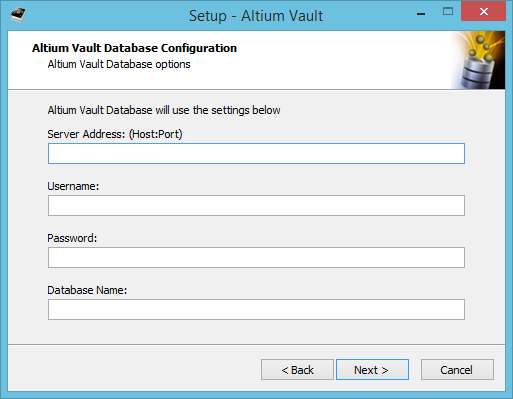
Specify access to your company's Oracle database, which will be used by the Collaboration Server.
Select Altium Vault Data Directory
Use this page of the wizard to specify the destination folders in which to store the database and revision files respectively. The default installation paths are:
- Data Folder –
\ProgramData\Altium\VaultServerData - Revision Files Folder –
\ProgramData\Altium\VaultServerData\Revisions
To specify an alternate location, simply type the location directly into a field, or click the Browse button at the right of a field and browse for the required destination folder (or create it on-the-fly).
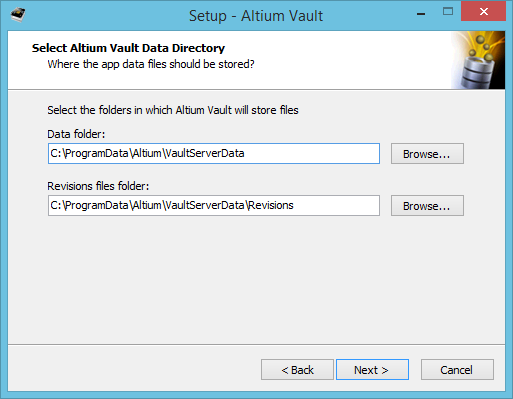
Determine install locations for Collaboration Server data.
Once the data folder locations are specified, click Next to continue.
Ready to Install
The Installer now has all the information it requires to proceed with the installation. If you need to change anything, click the Back button. If you want to cancel out of the install, click Cancel. To go ahead and proceed with the installation, click Install. The page will change from "Ready to Install" to "Installing" and the installation will proceed. Once complete, simply click Finish to exit the wizard.
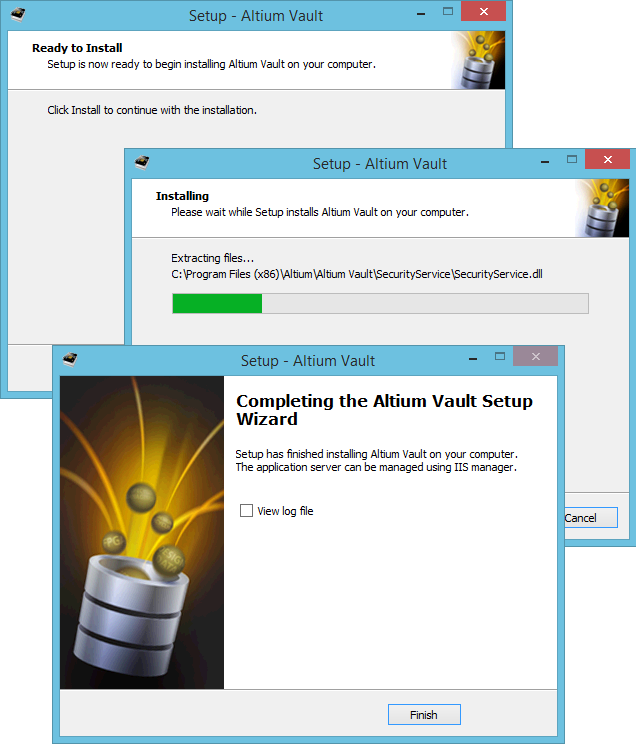
Kick off the installation by clicking Install. Click Finish once installation is complete.
Verifying the Collaboration Server is Running
Verification that the Collaboration Server is running can be performed from the Windows Internet Information Services (IIS) Manager panel – accessed from Window's Administrative Tools window. Simply check to confirm the following Application Pools are in the Started state:
- Altium Vault
- Altium Vault - Applications Registry Service
- Altium Vault - Comments Service
- Altium Vault - Configurations Management
- Altium Vault - Data Acquisition Service
- Altium Vault - Data Storage Service
- Altium Vault - Discovery Service
- Altium Vault - Event Dispatching Service
- Altium Vault - Home
- Altium Vault - Identity Service
- Altium Vault - MCAD Collaboration Service
- Altium Vault - Network Installation Management
- Altium Vault - Network Installation Service
- Altium Vault - Notifications Service
- Altium Vault - Part Catalog Management
- Altium Vault - Part Catalog Service
- Altium Vault - Projects Management
- Altium Vault - Projects Service
- Altium Vault - Reports Management
- Altium Vault - Search Service
- Altium Vault - Security Service
- Altium Vault - Simple Lock Service
- Altium Vault - Team Configuration Service
- Altium Vault - User Management
- Altium Vault - Vault Explorer
- Altium Vault - Vault Service
- Altium Vault - VCS Management
- Altium Vault - WebSocket Service
Licensing
Licensing is handled locally through license files (*.alf), obtained through the AltiumLive Dashboard. Activate the applicable licenses to acquire the license files needed. Two files are required:
- Altium Vault Collaboration License (Altium Vault Collaboration License <ActivationCode> R10 Primary.alf)
- Altium Vault Collaboration CAL License (Altium Vault Collaboration CAL License <ActivationCode> R10 Primary.alf)
Once the license files are downloaded, drop them into the root installation folder for the Collaboration Server (the default for which is \Program Files (x86)\Altium\Altium Vault).