Network Installation Service
Contents
One of the many challenges faced in the enterprise environment is managing the myriad of applications installed on all of the workstations owned by that organization. This process becomes more complex when those applications must be configured to suit the specific requirements of the organization, for example adding in optional extensions or specialized interfaces.
Accessing the Network Installation Service
The Network Installation Service (NIS) is accessed from within an Altium Vault. The NIS requires an Altium Vault 2, you must install the vault before you can perform any Network Installation Service tasks.
- To learn more about installing Altium Vault 2, refer to Installing the Altium Vault.
Once the Vault is installed, log into it via your preferred browser, using the URL <MachineName>:<Port>. If you are working on the PC that the Vault is installed on, you can use the generic name localhost in place of the specific <MachineName>, in which case the URL used to access the Vault via your browser would be:
localhost:9780
After entering this into your browser's address bar, the following page will open. Note that the Altium Vault includes the following default login:
- User name —
admin - Password —
admin
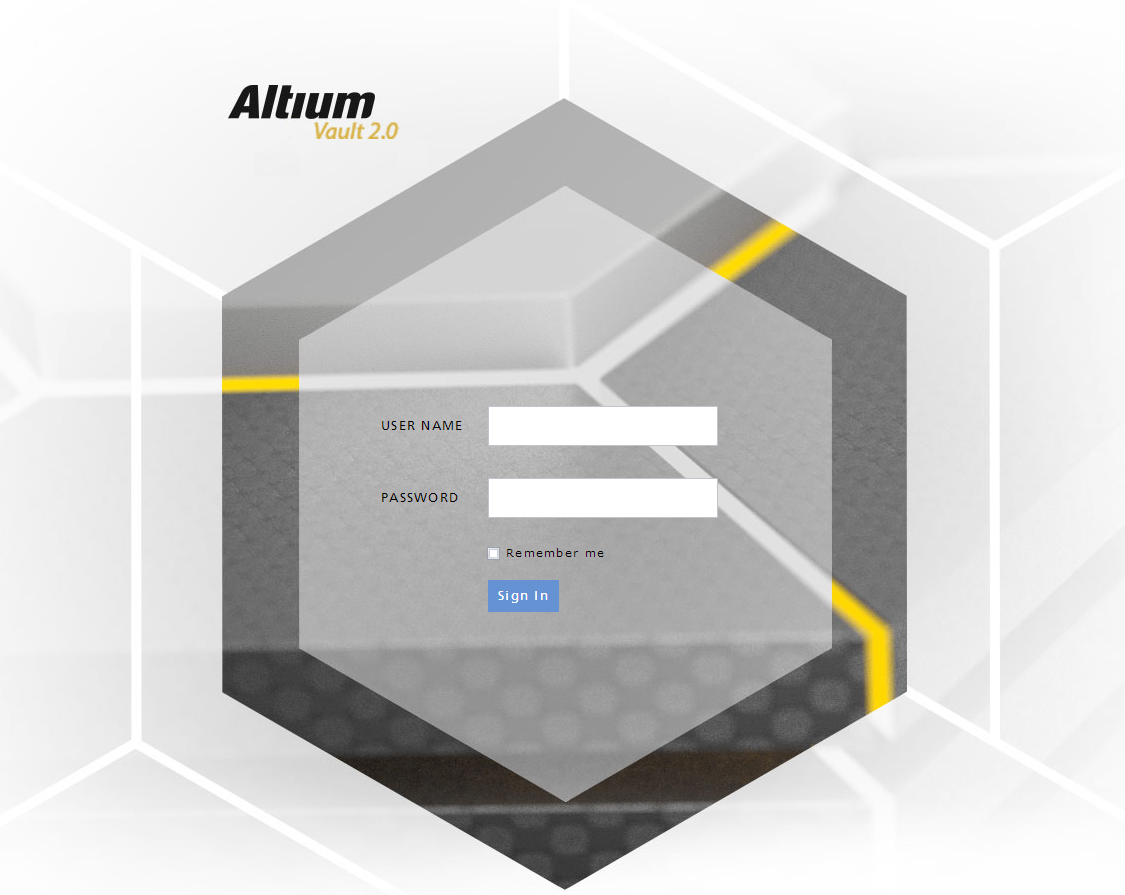
Login to access your Altium Vault via a browser.
After logging in, the Vault 2 interface appears. By default it displays the Users tab, as shown below. In this test example a number of Users have also been defined.
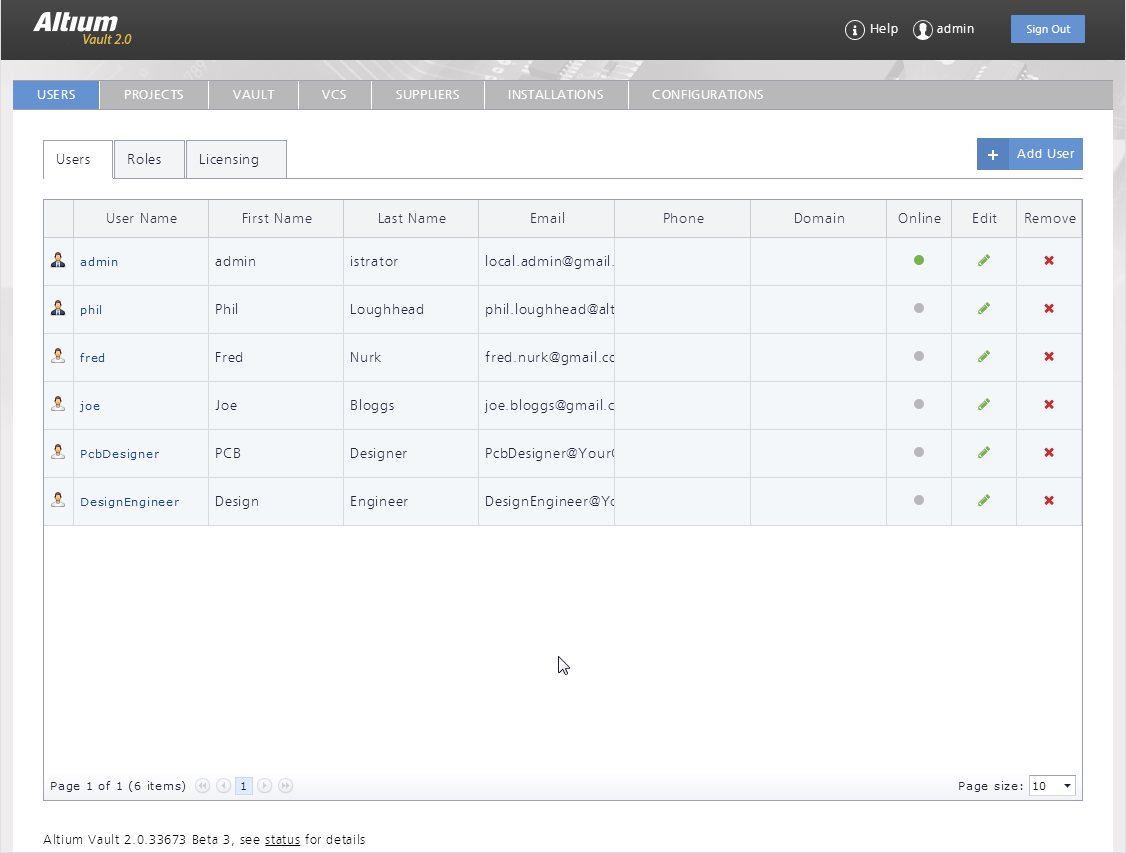
Users and Roles are defined in the User Management area, as well as the type of license assigned to each User.
The NIS features are accessed via the Installations tab, as shown in the image below. Note that there are 6 different areas of Installation, each configured on a separate tab. Each of the Installations sub-sections is described below.
NIS Settings
The Network Installation Services allow you to copy product and extension installers from the Altium Cloud to your local Altium Vault. For this to be possible, you must first enter the following two sets of credentials on the Settings tab:
- Local Credentials — the credentials used to log into this local Altium Vault, that downloaded installers are to be stored in.
- Remote Credentials — the credentials used to log into the Altium Cloud (AltiumLive) where the installers are to be sourced from.
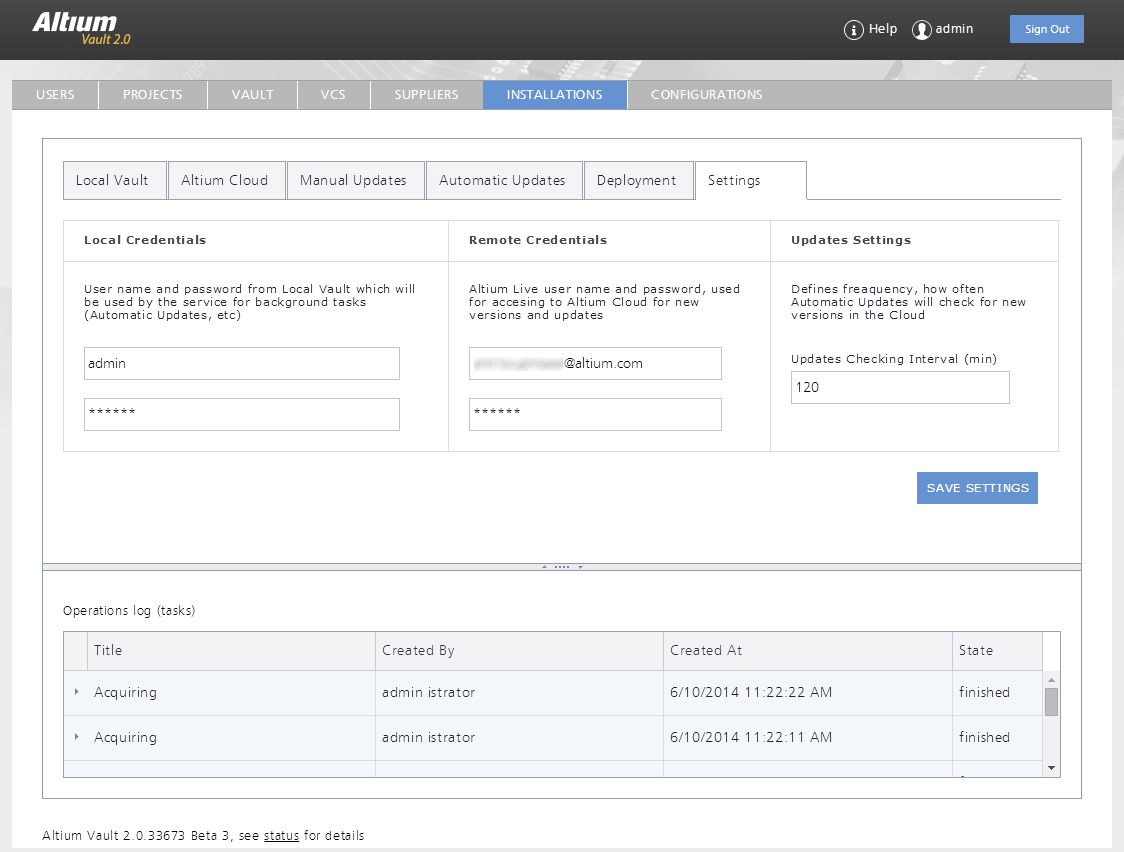
Enter the log in details for the local Vault, and also the AltiumLive credentials to log into the Altium Cloud.
Altium Cloud
The Altium Cloud tab is your view into the set of available Altium product and extension installers. Switch to the Altium Cloud tab to choose the products and extensions that you want to download from the Altium Cloud, into your local Altium Vault.
There are 2 categories of installers that can be downloaded from the Altium Cloud:
- Products — includes all products available to your organization under your current licenses, such as Altium Designer.
- Extensions — extensions 'plug in' to a Product to extend its functionality.
Select the required Products and Extensions and then click either Acquire or Download. Note that ticking the top level product (or extension) will automatically enable just the latest release of that product or extension, there is no need to expand the product and scroll to the bottom of the list to select the latest version.
Once you have clicked OK in the confirmation dialogs, the process will commence. The Operations log toward the bottom of the screen details the progress.
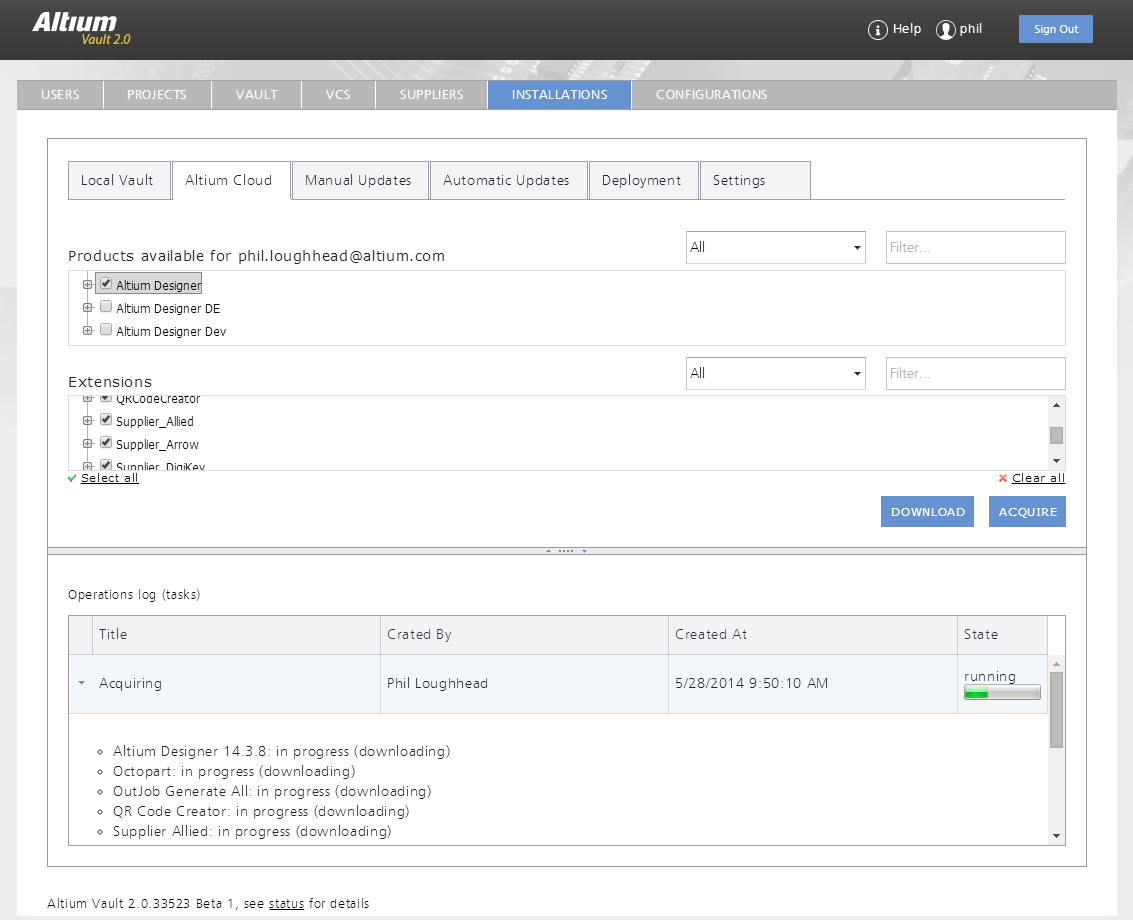
Note the Operations log, it details that an Altium Designer installer is being acquired from the Altium Cloud.
Why Can't I Enable a Checkbox?
As mentioned, when you tick the top level product (or extension) name, it will automatically enable just the latest release of that product or extension. There is no need to expand the product and scroll to the bottom of the list to select the latest version. Note also that once the latest version of an installer has been downloaded you will find that clicking on the checkbox does nothing, that individual installer checkbox or the parent checkbox can no longer be ticked. The interface gives visual feedback about this, the text is displayed in green (as shown in the image below). If the top-level checkbox is green it simply means you already have the latest version of this product or extension in your local vault. The other indicator that is used is a dash inside the checkbox, this means something in the list below has been downloaded, but it is not the latest version.

Green text means you have the latest version of that installer, the dash means you have a version, but not the latest.
Local Vault
The Local Vault tab lists what products and extensions are available in your local Altium Vault. A deployment package can only include products and extensions that are listed in the Local Vault tab.

The Local Vault shows the installers that are currently in your local Altium Vault.
This tab includes the following features:
- Generate — click this to generate a deployment package for pushed updates and installation. Use this to create a deployment package, which can also be done by switching to the Deployment tab.
- Import — import products and extensions from an offline installation. Use this to bring installers into this Vault, from an external source, such as an external drive or optical disk.
The next step is to create a Deployment package, which can be done by clicking on the Generate button, or by switching to the Deployment tab.
Deployment
On this tab you create a Deployment Package, which is a ZIP file containing an installer and a configuration file. Once a Deployment Package has been created it can be downloaded, the contents extracted from the ZIP, and the executable run to install the chosen product and extensions.
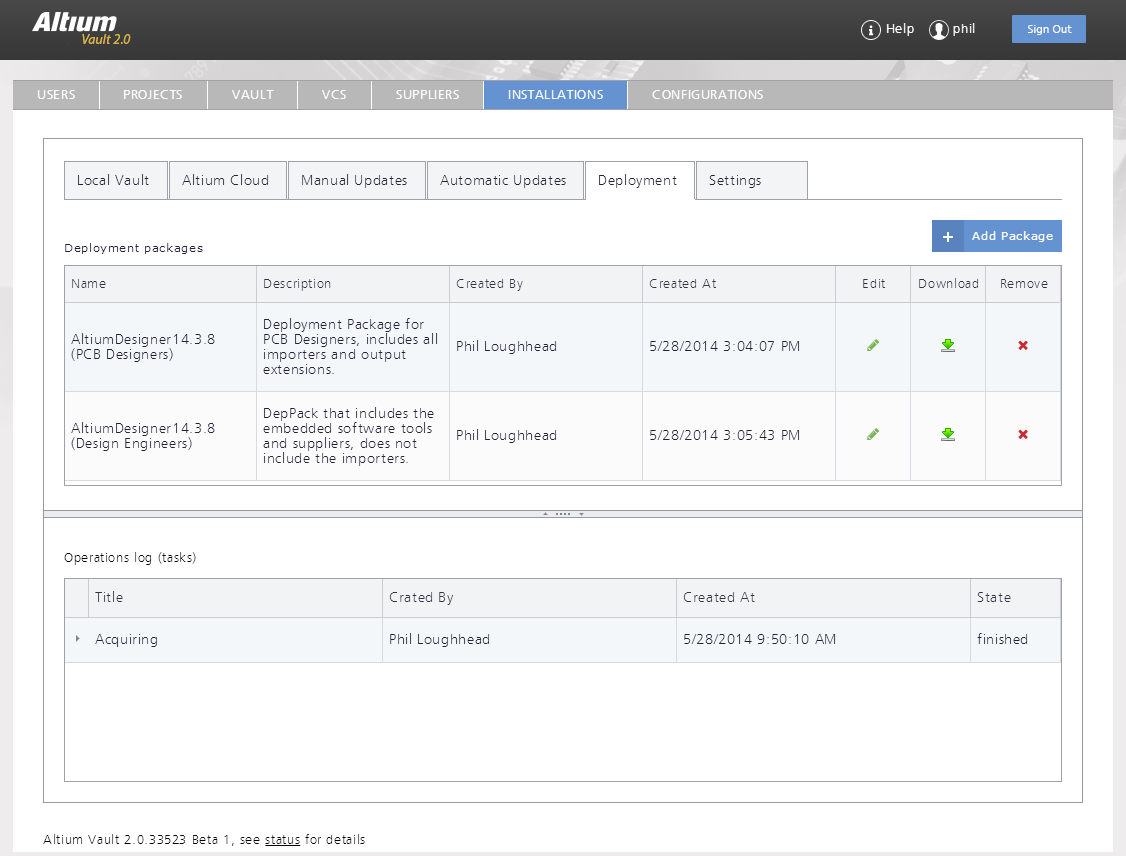
Define and edit deployment packages, then download the required package from the local Vault to an external drive.
This tab includes the following features:
- Add Package — Create and configure a new Deployment package, which is then added to the list of available Deployment Packages. Clicking this opens the Deployment Package dialog, which is described below.
- Edit — Click on the symbol to open the Deployment Package dialog and edit this Deployment Package.
- Download — Click to download the selected Deployment Package to your hard drive, into the default download location for your browser.
- Remove — click to remove the selected Deployment Package from your Altium Vault.
Configuring a Deployment Package
Within the Altium Vault, a Deployment Package is essentially a list of required product and extension installers. When you click to download a deployment package from your local Altium Vault, a ZIP file is created, containing an installer and a configuration file. The installer is a small executable that, when run, sources the actual product and extension installation files that it needs from your local Altium Vault. The files that it will source from the Vault is determined by the product and extensions defined in the configuration file. The product and extensions are configured by you in the Deployment Package dialog, that detail is then written into the configuration file that is created and saved into the deployment package.

Define the product, default features and extensions required for this deployment package.
Configure the Deployment Package as required, providing the following details:
- Package Name — Define a meaningful name for this Deployment Package. In the image above a specific Deployment Package has been created for design engineers.
- Description — Use this field to make notes about the purpose of this Deployment Package.
- User Name & Password — local Altium Vault log in credentials required to access the Vault during installation to retrieve the required files. Note that this User Name/Password combination will automatically appear in the installer during installation. These must be defined, you can choose to either define and use generic credentials which can then be supplied if end users are performing the installation, or you can enter IT staff credentials if the installation is to be performed by IT staff.
- Private License Server — enter the TCP/IP address of the Private License Server (optional).
- License Activation code(s) — enter the activation codes to be used with this installation (optional).
- Products — The list will include all products currently available in the Local Vault, enable the product and version required in this Deployment Package.
- Installation Features — A product can have a variety of options that can be configured during install, known as installation features, here you are configuring the on/off state that those features present with during installation. Note that the on/off state of Installation Features can be changed during installation, and they can also be enabled/disabled from within Altium Designer at a later time if required.
- Extensions — Enable which extensions are included as part of this installation.
Manual and Automatic Updates
To help ensure that the collection of product and extension installers that you have stored in your local Altium Vault are always up to date, you can configure them to either be updated manually or automatically. The advantage of Manual Updates is that you have control over which version of each product/extension is acquired, the downside is you must keep an eye on things and manually Acquire them. The advantage of Automatic Updates is you do not have to remember to check for updates, but all versions will automatically be acquired.
Manual Updates
This tab will list all products and extensions, for which there is a newer version currently available in the Altium Cloud. The Altium Cloud is checked automatically, so if the product/extension list is blank, there are none available.
Select the required product/extensions, and click the Update Checked Items button to acquire the latest version.
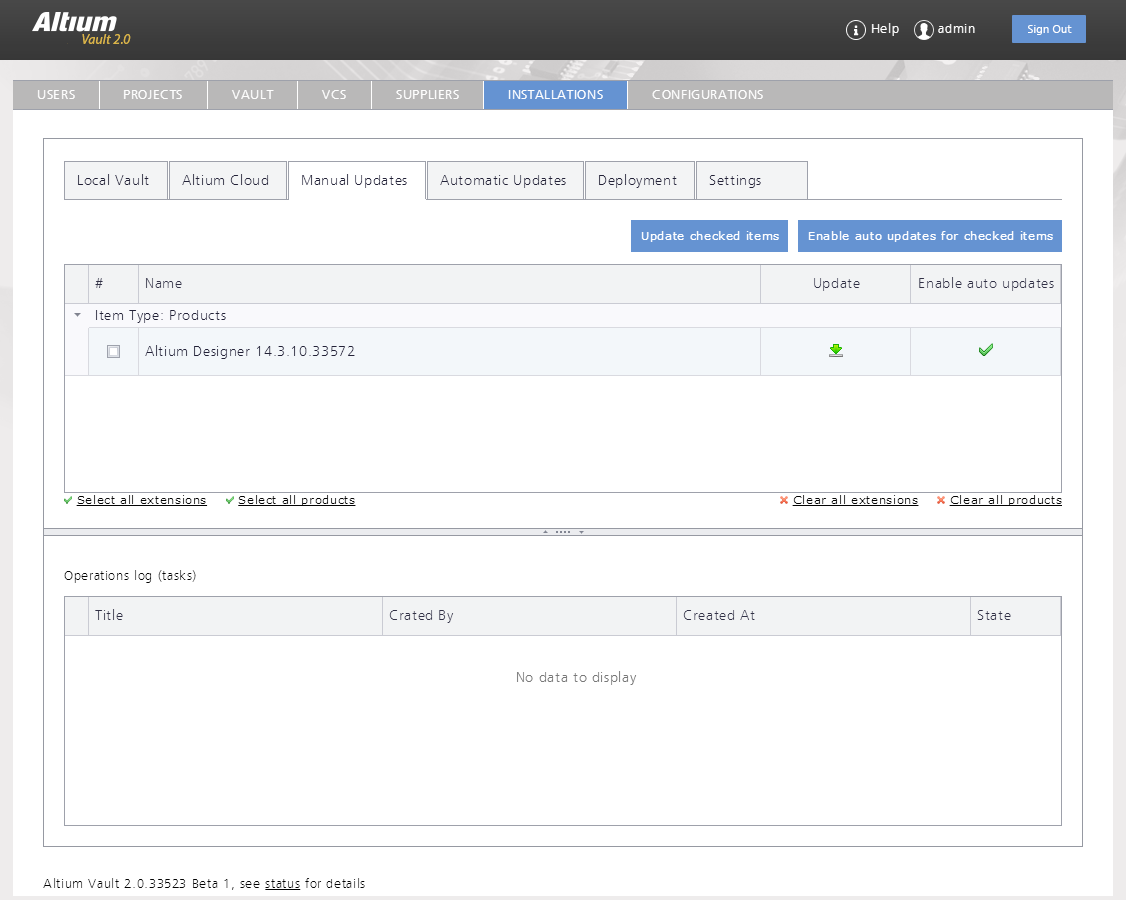
Using Manual Updates means you have control over what gets updated.
Automatic Updates
On the Automatic Updates tab you define which products and extensions are to be monitored. these are then checked at the Update Checking Interval, is defined in the Settings tab.
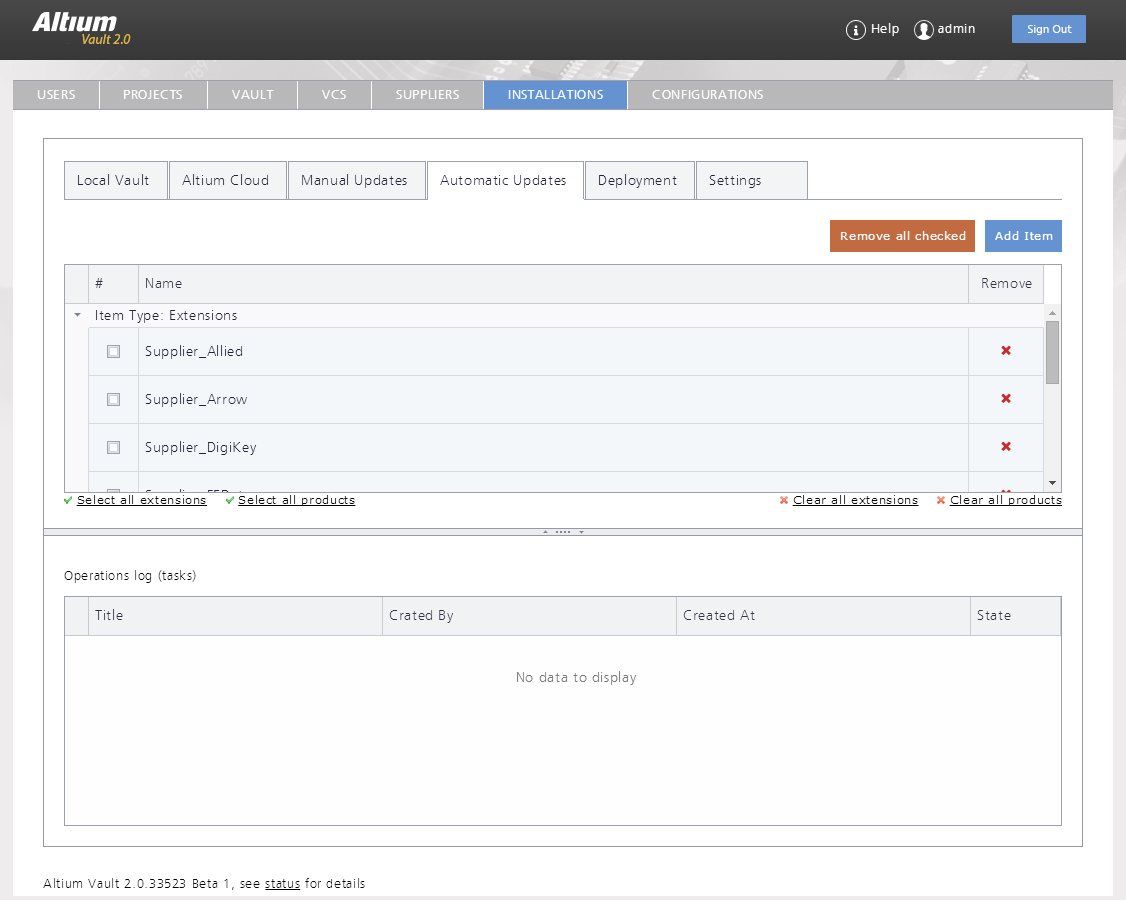
A number of extensions have been configured for automatic updating.
To enable automatic updating for a product or extension, click the Add Item button and then enable them in the Add Items for Automatic Updating dialog.
Automatic updating is being enabled for a number of extensions.
Configuring Altium Designer for Local Installation Updates
Altium Designer can be configured to automatically check for updates. This is done in the System — Installation page of the Preferences dialog. As well as configuring how often Altium Designer checks for an update, you also configure where it should look for available updates, as shown in the image below.
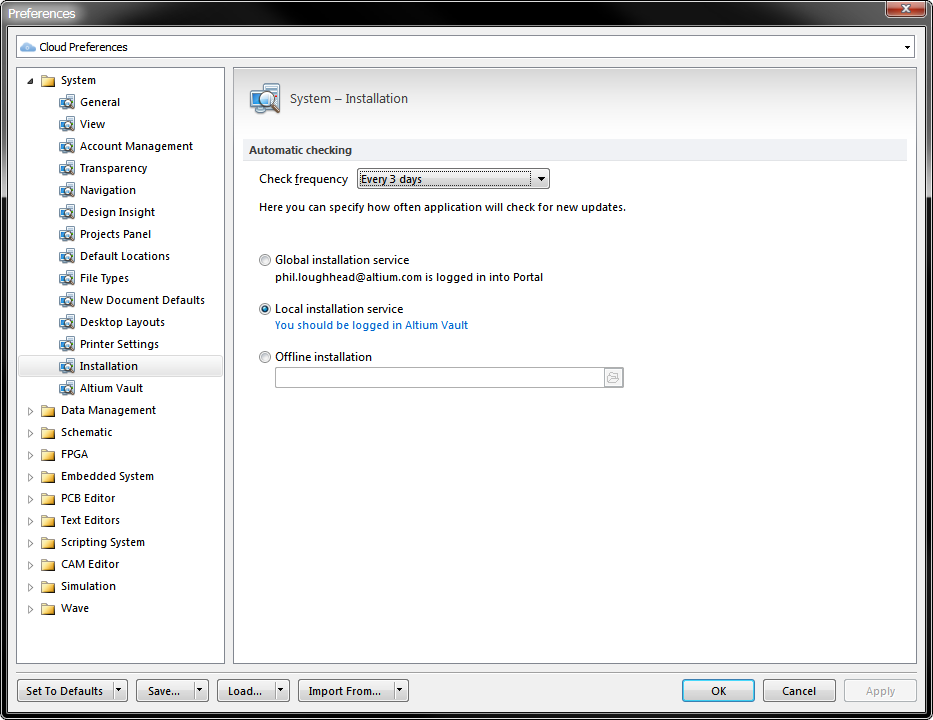
Select where updates are to be installed from - note that the local Altium Vault location is defined during log in.
If the Altium Designer installation has access to the local Altium Vault where the installers are stored, you would select the Local installation service, as shown above. Note that this requires vault login, which can be performed here (click the blue link), or by selecting the Sign in command in the DXP menu. Not also that this log in is the local Altium Vault login, not the AltiumLive login that a user would use to access installations and updates directly from the Altium Cloud.
Sign in and out of the Vault via the DXP menu.